Happy Friday, people! Today I’m bringing you the lazy gal’s guide to baking one of the pastry world’s most finicky confections; the macaron. And what’s more, these are Salted Nutella Macarons. So they are basically, the ultimate Holiday cookie. And they’re gluten free! There’s a lot to love about these cookies, even though they have a reputation for being super difficult. I don’t let that get in my way though!
What’s my secret, you ask?
Stop worrying; perfection is BORING!
There are 7 steps to making macarons, and they are as follows:
- Sift
- Whip
- Fold
- Shape
- Dry
- Bake
- Fill
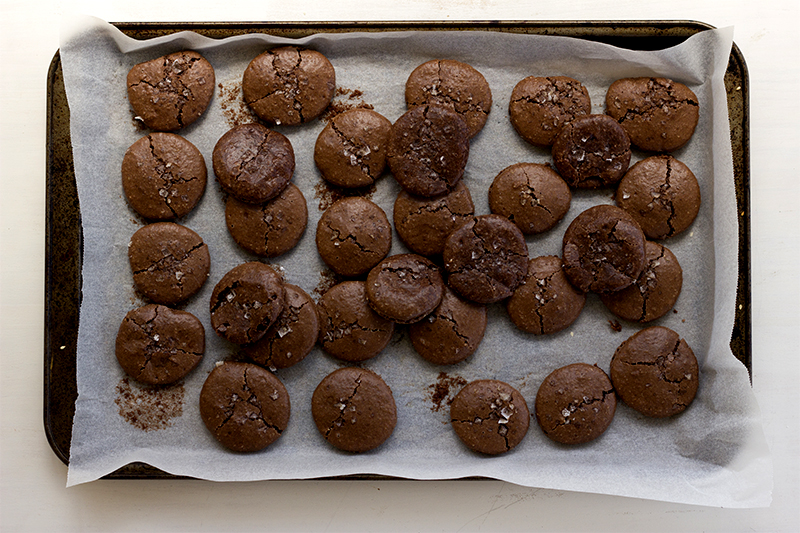
May I draw your eye to the photo above? See the tops of all these little cocoa-dark, fudgy-centred, almond-scented disks of macaron? See how they’re all cracked? Yeah, that’s because I left them out drying a little too long on step 5. They got too tough on the top, so when they hit the oven and puffed up, they cracked. And you know what? I just don’t care. And I suggest you do the same!
What I’m saying is; take the pressure off! So what if you didn’t sift the mixture well enough, or you over-fold it, or you let it dry too long? Because it’s pretty damn hard to make this set of ingredients taste bad, let me tell you. Nuts, icing sugar, cocoa, egg whites and nutella – unless you burnt the absolute bejeezus out of them, you’re going to end up with something pretty tasty!
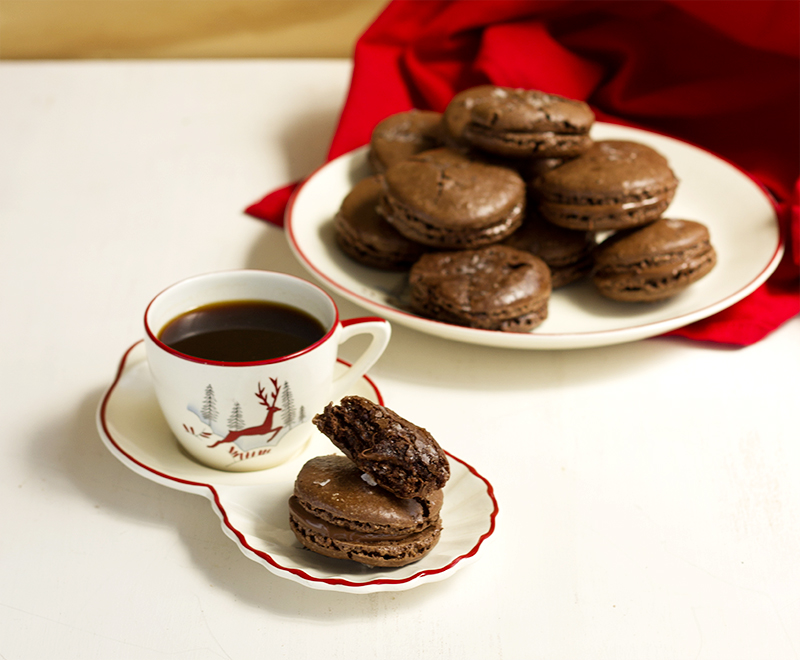
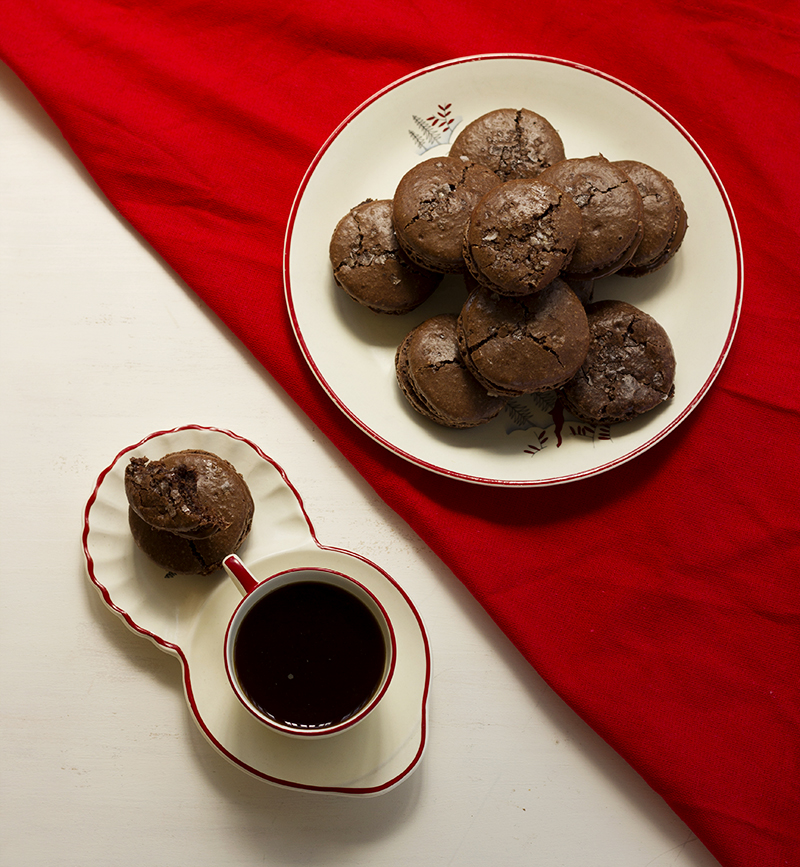
And once you slather the middles with gooey Nutella (lazy gal’s ganache) and sandwich them together and then pack them in a box and give them to a friend, or pile them on a plate and serve them with coffee, NO ONE is going to notice or care that the tops are cracked. And if they do care….make them eat one. That’ll shut ’em up.
Macarons are like learning a foreign language. It seems awesome, so you think, yeah I’m going to do that! And then you start to learn about it and all of a sudden it seems like the most gargantuan, insurmountable task of all time. You worry about whether you’re getting every little detail right, you stress over the minutiae of what the professionals insist are the key points. And then you spend the rest of your life perfecting your craft.
OR…
If you’re like me, you dive headfirst into it, listen to a bunch of French music, pick up a phrase book, and head over there! Don’t worry about whether you’re using the correct past-imperfect-present-future tense, or the right verb conjugation. Most people will be just be glad you tried! And the more you try the better you get.
Same thing with macarons. You could stress over getting the right frilly foot, the perfect, shiny dome, a paper-thin crust over a chewy centre. Or you could just bake the darn things and enjoy ’em! Macarons are for everyone! Don’t deny yourself a cookie, just because other people say it’s hard. Dive in, head first, and then enjoy the spoils of your work. And yes, this is a metaphor for life. Cookies are always a metaphor for life.
So, this weekend, let’s sift, whisk, fold, shape, dry, bake and fill our way to cookie Nirvana. Because it’s that time of year! And because we know they’re going to turn out awesome, no matter what.
xx Sarah.
Salted Nutella Macarons
An original recipe by Sarah Coates for The Sugar Hit.
Makes 15 cookies.
Note: This recipe may seem really long, but that’s only because I wanted to give you as much detail as possible about each step. The more you know, the better off you’ll be, I figured. But remember, if you screw up one step, it’s not the end of the world – they’ll still turn out great!
INGREDIENTS
225g icing sugar
140g almond meal
2 tbsp cocoa
2 large egg whites
Sea salt flakes (I use Maldon sea salt)
Nutella, to fill (buy a big jar to get the left overs)
Step 1: sift. Sift together the icing sugar, almond meal and cocoa twice. I find it easiest to do the first sift onto a piece of baking paper, then the second one into a bowl. You can pick up the corners of the baking paper and use it to tip the ingredients into the sieve for the second round.
Step 2: whisk. Place the egg whites into a clean and dry mixer bowl, and whisk until stiff peaks form. How do you know if you have stiff peaks? Stop the mixer and remove the whisk attachment. There will be a bit of egg white that sticks to the end of the whisk. When you turn the whisk up side down those egg whites should retain their shape, remain still, and point straight up, like a little snowy mountain peak.
Step 3: fold. Add the sifted icing sugar, almond meal and cocoa to the egg white bowl, and fold them into the egg whites using a rubber spatula. You need to fold until the dry ingredients are totally combined with the egg whites, in as few moves as possible. It will seem like you are knocking all the air out of the egg whites, but you aren’t. Work quickly, and you should end up with a dark paste that oozes around when you tip the bowl.
Step 4: shape. What you need to do is dollop out 30 x 1 inch rounds onto a lined baking sheet leaving at least 1/2 inch between them. You can do this using a spoon, a small ice-cream scoop, or a piping bag. I have tried using all three ways, and each have their ups and downs. Spoon method gives nice smooth tops, but uneven shapes. Ice-cream scoop method gives nice uniform shapes, but bumpy tops and you need a really small scoop. Piping bag method requires a bit of finesse and is a pain to wash up, but results in uniform shapes and smooth tops. Do what suits you, and then sprinkle them liberally with sea salt flakes!
Step 5: dry. Once your cookies are shaped, you need to leave them to dry until the tops have formed a skin. When they are dry enough you should be able to gently touch the top of one with your finger, and have no mixture stick to you. This can take anything from 20 minutes to 2 hours depending on how hot and humid it is at your place. Mine have never taken longer than an hour though, because I live in Australia, where it’s a million degrees all the time.
Step 6: bake. Preheat your oven to 150C while the cookies are drying. When they are ready to bake, place them in the oven, and then immediately turn it down to 130C and bake them for 15 minutes. When they are done, they will have risen, and should feel firm to a very gentle touch. Leave the macarons to cool on their baking sheet out of the oven.
Step 7: fill. Once the macarons are cooled, flip over half of them, and spread them each with a teaspoon of nutella. Find a bare cookie that looks about the same shape as your nutella spread base, and sandwich them together. Then, eat them! They will keep out of the fridge for 3 days at least, and in the fridge for up to a week.


haha! I love everything about this post. Love the recipe, but especially love your decision to not take macarons so seriously! They sound amazing.
Thanks Amanda! I choose to take everything not-so-seriously!
i actually LOVE how rustic these look. and best flavour combo! happy friday honey x
Happy Friday to you, T!
Kudos! These look amazing. And i’d take Nutella over ganache any day ;)
I know, right? Nutella>ganache.
These look beautiful with perfect feet!
Hehe I’ve covered cupcakes with nutella as I was too lazy to do ganache so i can see why filling macarons with it is a great idea!
Beautiful Chocolate Macarones! I wish I had one right next me now!
I bet you saw how was Macaroons adventure for me… They got pretty tasty actually but.. you know totally chunky. But also is because i’m a little obsessed with perfection and i Must keep going with the practice. I love this, must try this with my homemade nutella… must be perfection
great advice! those look delicious and perfectly imperfect. and i love your holiday tea cup and plate ready for cookies!
I need to take a page from your book! I don’t know how many times I’ve bought almond flour to make french macarons but backed out after reading daunting recipes online.
I want to live in a world that consists of only me, and these macarons.
omgeeeee
I love that you called Nutela “the lazy girl’s ganache.” SO TRUE! These macarons look phenomenal. Will you please send some to me? :)
Well hello there Sarah! These look amazing and Nutella is so addictive to me I can hardly step away from the jar. Love – love – love your blog! Have a great weekend.
Bravo Gurl!!! I can not make a macaron to save my life.. These look perfect to me. Well done lady!
Mmm, I love salty and sweet. These macarons sound delicious!
These are my nemesis. I’ll try them someday!
You go girl! Show those tasty, tasty macarons who’s boss!! I gotta make me some of these soon!
Totally with you–good philosophy ya got there. These look incredible and yes, macarons taste best when you just don’t care what those puppies look like.
I could not even begin to agree more! Nobody yells at nanna if her apple pie is cracked, because that shit tastes freaking amazing.
Hell to the yes.
These look so yummy1 love the flavor combination :)
Your take on Macs is spot on because even if they don’t LOOK perfect…they pretty much always taste perfect! THe salted nutella flavor infusion? Probably my favorite mac that I’ve ever seen!
These… I can’t even… I just… Omg.
I’m glad you don’t care that the tops are cracked. Good for you! :) I haven’t worked up the courage to tackle macrons. Love your lazy girl’s guide, though! They look incredible and I’m sure with all that Nutella, they HAD to taste incredible!
Love it when a blogger is realistic about stuff. No one aint gonna care about the cracks! Kudos!
I haven’t attempted a macaron in well over a year, I just need to get over it! these look amazing, cracks and all.
This is one I haven’t tried yet, but I’d love to try it. And Nutella is the way to go!
Have always been too scared to attemp t macarons (not too scared to eat them!). I reckon I could make these – it feels like you’re right next to me in the kitchen, holding my hand.
I TOTALLY AM in spirit.
These look fab and even if they didn’t it doesn’t matter because they were delicious right?!
You couldn’t BE more right!
These look so amazing! I love nutella and macaroons – why NOT bring them together? This recipe is delish!
Togetherness is a beautiful thing.
Haha, I like your style! I think I could use a liitle more not caring in my life–pretty sure stress lines and bags under the eyes were rated “not hot for 2013” by Vogue. The other thing you could do is package them precariously in a tin, and then when your friend opens it, say, “Oh shoot, you jostled the macarons and they cracked!” It’s the perfect plan for someone who doesn’t mind emotionally manipulating their friends. But seriously, cracked, not cracked, I would happily take a batch of these any day!
these look amazing! I’m wondering though, since I just moved from sea level: do you have any tips for adjusting to altitude? I imagine these would be very fussy for mountain baking! Thanks
Hi Cam! I think you’re totally right – these would be pretty fussy at altitude, I mean, they’re darn fussy at the best of times! What I do know about baking at high altitude is that things tend to rise faster (because pressure is decreased) and liquids tend to evaporate quicker for the same reason. So, knowing that, I would suggest a few things. Firstly, try whipping the egg whites a little less – not all the way to stiff peaks, but just past soft peaks. Secondly, reduce the drying time, you probably won’t need very long at all – maybe 10 minutes. And thirdly, you might want to increase the oven temperatures by 10 degrees or so.
But I haven’t tested any of this, so it’s all just based on my research. I did a quick google and found this recipe specifically for high altitude macs: http://sweetcsdesigns.com/high-altitude-raspberry-buttercream-macarons/
If you do give either a try, I’d love to hear how you go!
xx
Sarah