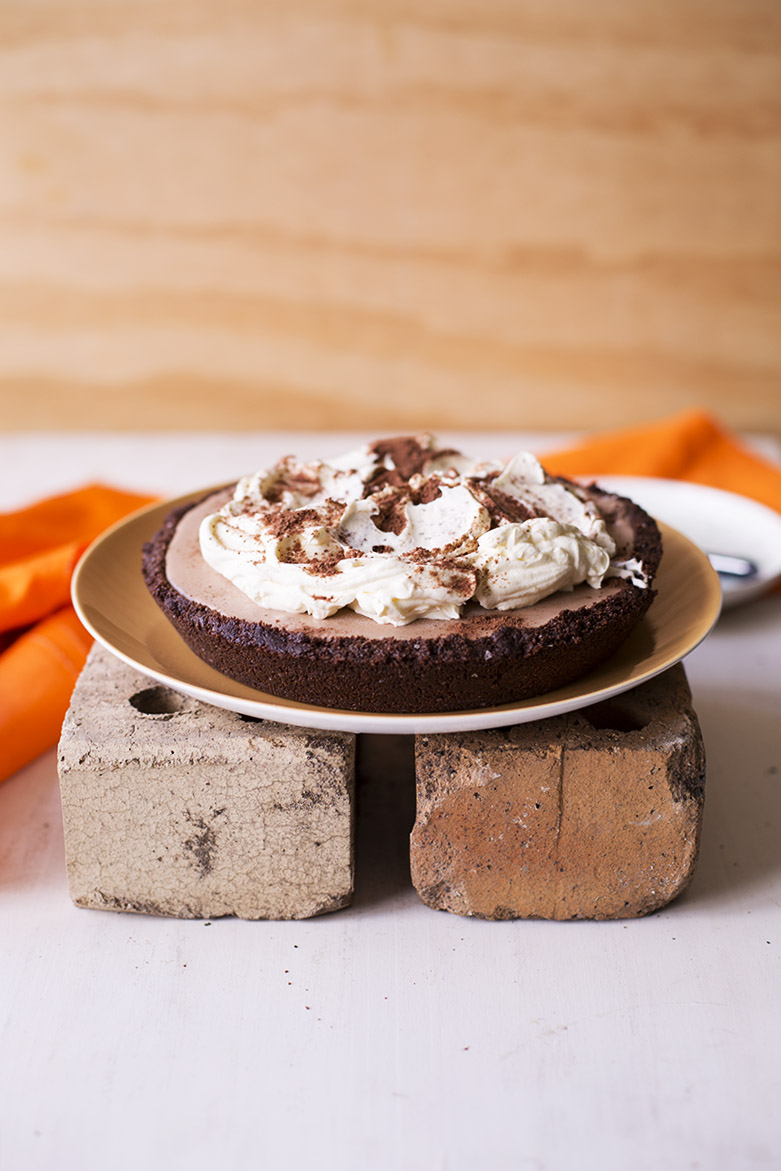
Oh hey, in case you didn’t know I’m running with an Australian theme this week. It’s Australia Day next Tuesday (also my sister’s birthday, hi Jules!) and I thought I would share a few of the recipes that taste most like Australia to me. Monday I posted the taste of an Australia Summer pool visit (other than chlorine) the Pine Lime Splice. And today, I’m talking bout every Aussie 10 year old’s favourite drink: Milo.

Ask any Aussie kid, and they will tell you that true freedom is represented by being allowed to put as much Milo into their glass as they want. Milo is a crunchy, chocolate-malt drink powder, which never fully dissolves, and which is chocolatey, malty, a little salty, and completely delicious. Every kid has their own special method for how to make milo. Do you put the powder in the glass first and then add milk? Do you go milk first, powder second? Do you dissolve the powder in a little milk, then top it off? The variations are endless, and subject to constant debate.

But the one thing we can all agree on is that grown-ups never let you put enough milo in the glass. Parents and caregivers always restricted milo consumption to what, one or two spoonfuls? Maybe 3 on a good day? Not nearly enough, by any kids standards. Not nearly enough by my standards! And that’s where this pie comes in. Because this pie has all the fucking milo that I want in it! Because I’M AN ADULLLLTTTTT!
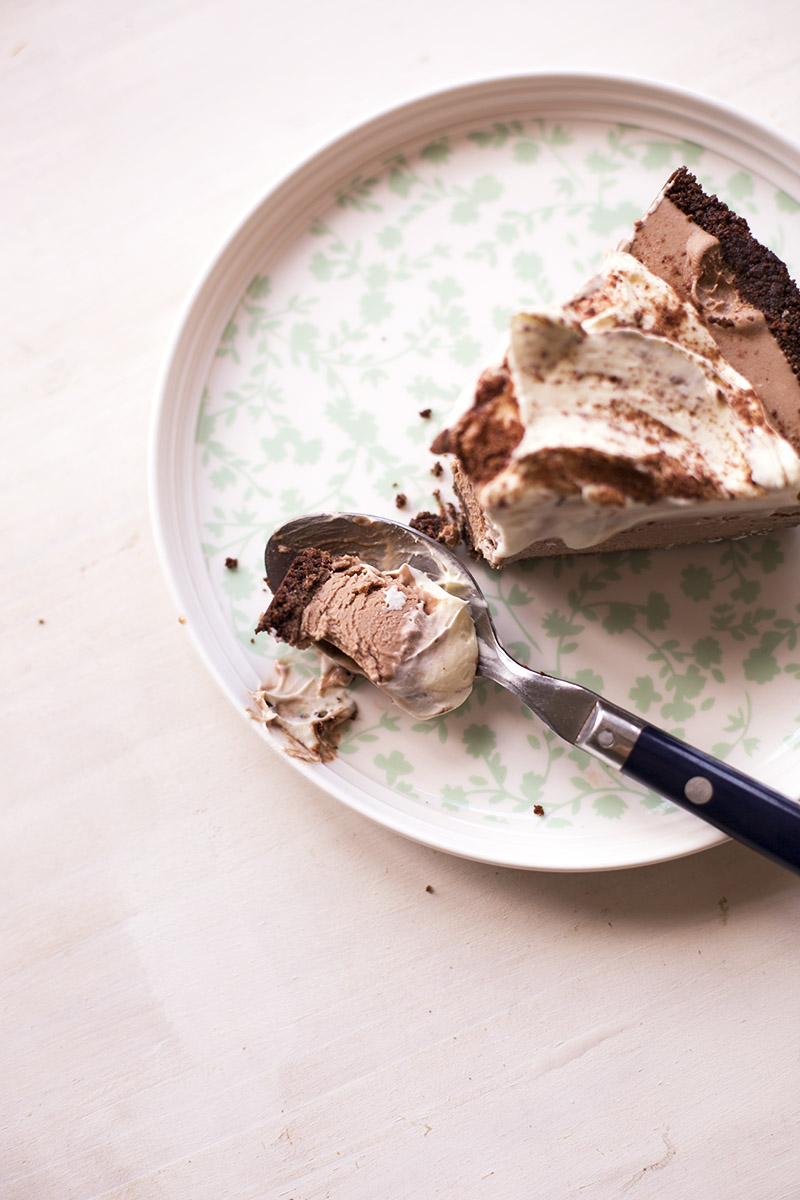
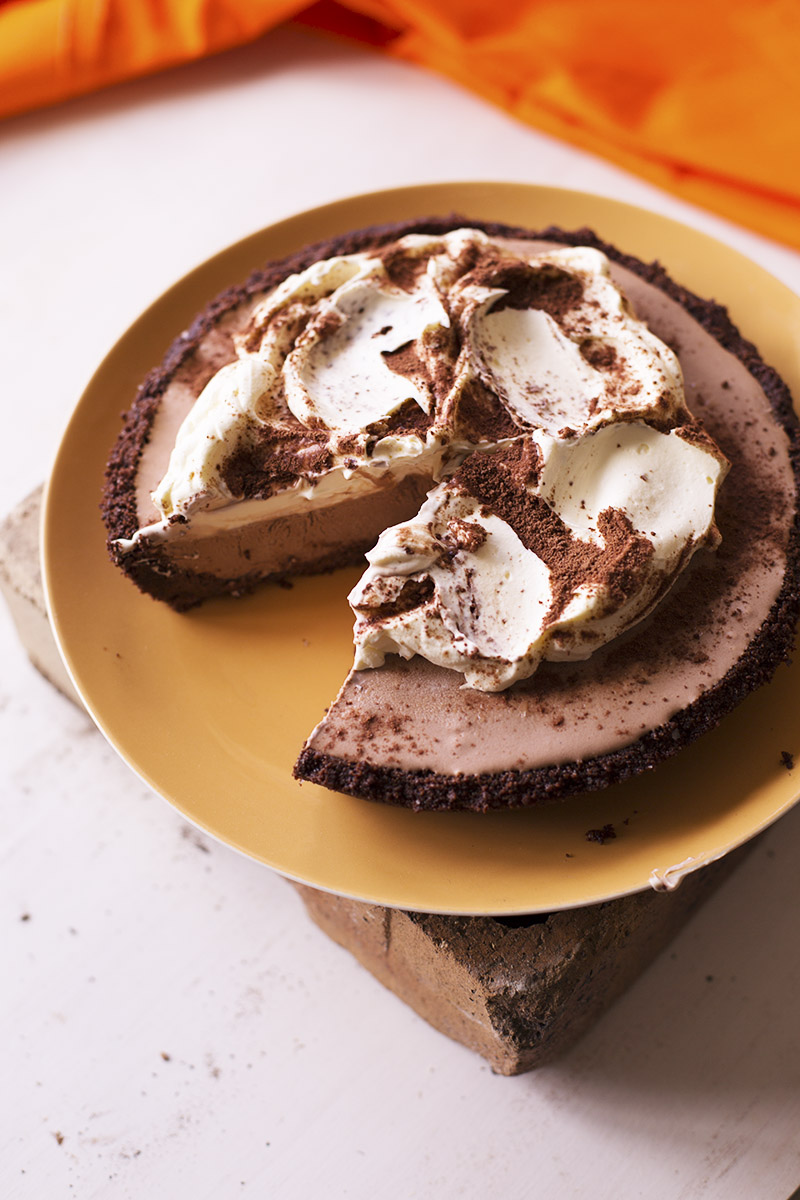
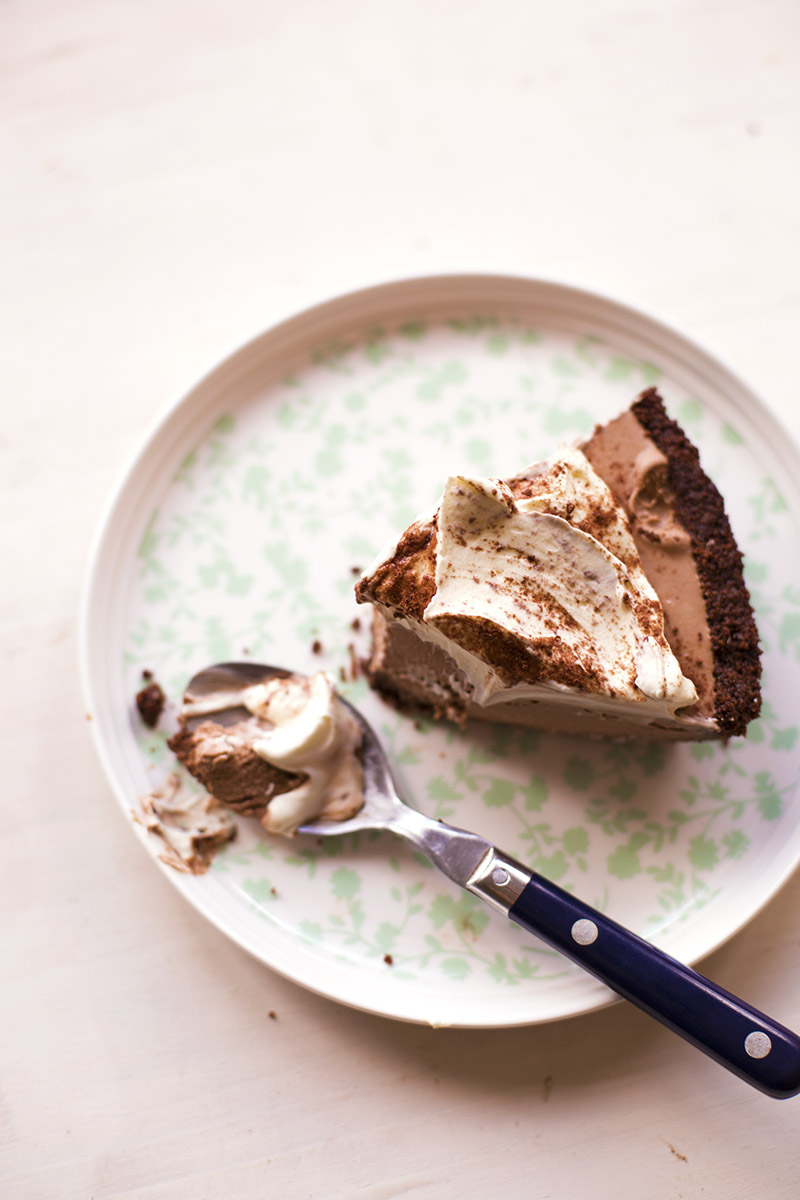
There’s milo in the crust, milo in the filling and milo on top. The crust is a slightly salty, malty chocolate cookie situation, the filling is an easy milo mousse/ice cream thang, and the topping is just sweetened whipped cream and more Milo!!! And it’s the best ever. Forget almost any other dessert with Milo in it (except for this cake and this cake) and go and make this. Thank me later.
xx Sarah.


- For the crust:
- 250g (9oz) crunchy chocolate cookies (I used chocolate ripples)
- ⅓ cup milo
- 75g (3oz) butter, softened
- 1 tsp salt
- For the filling:
- 2 tbsp cornflour (aka cornstarch)
- ¼ cup (60ml) milk
- 2 cups (500ml) thickened cream
- ½ cup milo
- 1 tsp vanilla
- pinch of salt
- 100g (4oz) milk chocolate (30% cocoa solids)
- For the topping:
- 1 cup (250ml) thickened cream
- 2 tsp icing sugar
- 1 tsp vanilla (optional)
- Milo, extra, for sprinkling
- First, make the base. Place all the ingredients into a food processor and blitz until you get a fine, damp crumb. If you squeeze a bit together, it should hold.
- Press the crust into a 9 inch (23cm) pie dish, and place into the fridge to set for at least an hour.
- To make the filling, stir together the cornflour and milk in a small bowl and set aside.
- Place 1 cup (250ml) of the cream into a large saucepan along with the milo, vanilla and salt. Place over a medium low heat, and cook, stirring, just until mixture is steaming.
- Remove from the heat, and whisk in the cornflour-milk mixture. Place back on the heat and cook for about 30 seconds to a minute or until the mixture is thickened.
- Remove from the heat, and break in the milk chocolate. Leave for a minute to melt and then stir gently until just combined.
- Scrape the mixture into a bowl, and leave to cool completely.
- When the mixture is cool, whip the remaining cream, fold into the chocolate filling, and then scrape everything into the crust. Place in the freezer to set for at least 4 hours.
- To serve, remove the pie from the freezer and let sit for about half an hour.
- Whip the cream for the topping with the sugar and vanilla, and spread over the top. Scatter generously with extra milo, and then ripple it through the cream with the back of a spoon. Serve!


Ummm……what is thickened cream? Is it the same as whipping cream?
Hey Karen – No it’s not the same (I’m not sure if you even have it in the US) but heavy whipping cream would work perfectly.
xx
Happy’ Australia day! I bet you’ll enjoy this pie on an hot Aussie day whilst I freeze in minus celcius ?
I used to eat milo from the tin. I was at Uni and there were no adults to tell me off!! Man I miss that stuff
MILO! I actually wasn’t a Milo kid (shock! Horror!) I was a chocolate Nestle kid, until it came to toppings for ice cream. Nothing, nothing, beats sitting on the verandah with my Dad and a bowl of ice cream piled high with milo watching a thunderstorm split the sky. Ah, summer.
I have to make this for my family just so we can relive those days. Also, because it will make them love me even more.
Ummm remember Milo bars… why did they ever go away? And isn’t adulthood great when you can not only put multiple spoonfuls of Milo but ice cream in the Milo milk too? And then do Tim Tam explosions in the said Milo milkshake thing? Being Australian is great for these two products alone lol. By the way Sarah, this recipe is beyond amazing and on my recipe bucket list!
soulmates because I knew what that link was before I even clicked through and it’s one of my all time favorites.
It might only be 8:40am in the UK but I could definitely polish off most of this pie for breakfast! Looks incredible.
Milo sounds just like nesquik – I used to really hate the banana and strawberry ones. only the chocolate for me, i used to make a paste with some of the milk and chocolate powder (I always put in more than the directions), then add more choc.
You’re so right, it doesn’t ever all dissolve either, this pie looks so retro and delicious it really appeals to me!
I remember drinking Milo in India too!
I absolutely MUST try this, if only for the Milo.
Happy almost Australia Day! Holy Milo Pie. Looks so good!! This pie sounds like it would taste very similar to one of my fave all time treats – frosted malts!!! We don’t have Milo in Canada and I am loving learning about the tastes and flavours of Australia! Yeesh I want to visit one day so badly. xo
That looks like one scrumptious ice cream pie! Since it’s summer in Australia now, I reckon ice cream is fitting :)
Hands down my favourite drink as a kid (and i’ll still order Milo Ais when I’m in Malaysian restaurants) – lucky I’ve got a tin of this in the cupboard to play with! Can’t wait to try out the recipe, it looks incredible :) x
Can not WAIT to make this tomorrow! quick question.. when do you add in the milo? before or after heat? thanks xx
Hey Estelle! Before – I’ll fix it up in the recipe. xx
Your milo inspired treats are so good! Quick question – and sorry in advance if I’m reading incorrectly – in step 4 where it says to incorporate milk, is that supposed to be milo? As the milk has already been incorporated with the cornflour? Sorry for the confusion and thank you!
Hey Shay – thank you! What can I say, I love milo! You’re totally right about step four, it should be milo, I’ll fix that up. xx
ooooh I’m intrigued by Milo and I think this pie is the perfect way to incorporate it into a dessert!
ooooo I love this! I can’t bake to save my life so this is perfect. Can’t wait to give this a try!